Overview
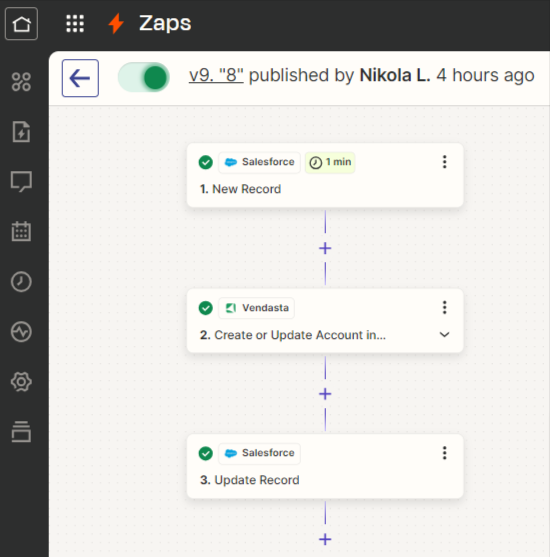
This document outlines the process for sycing new accounts from Salesforce to Vendasta utilizing Zapier. It could also be adapted for update operations, as Vendasta's Account Create action is an Upsert operation.
Prerequisites
- Ensure you have active accounts/subscriptions with Vendasta, Zapier, and Salesforce (a paid Zapier subscription is required).
- Your technical team must be able to maintain the Zapier connection between Salesforce and Vendasta.
- Your Vendasta subscription must provide access to the Zapier connection portal. You can find this by navigating to Administration > Integrations > Zapier > Connect on Zapier.
Workflow:
Zap Creation & Setup
- Access Zapier.com.
- To give yourself a head start, utilize the AI Zap creator. Enter the prompt: "Salesforce account create to account create in Vendasta. Update Salesforce account custom field with Vendasta account ID from new account".
- Zapier will automatically create a Zap for you: e.g. "Sync Salesforce Accounts to Vendasta Accounts".
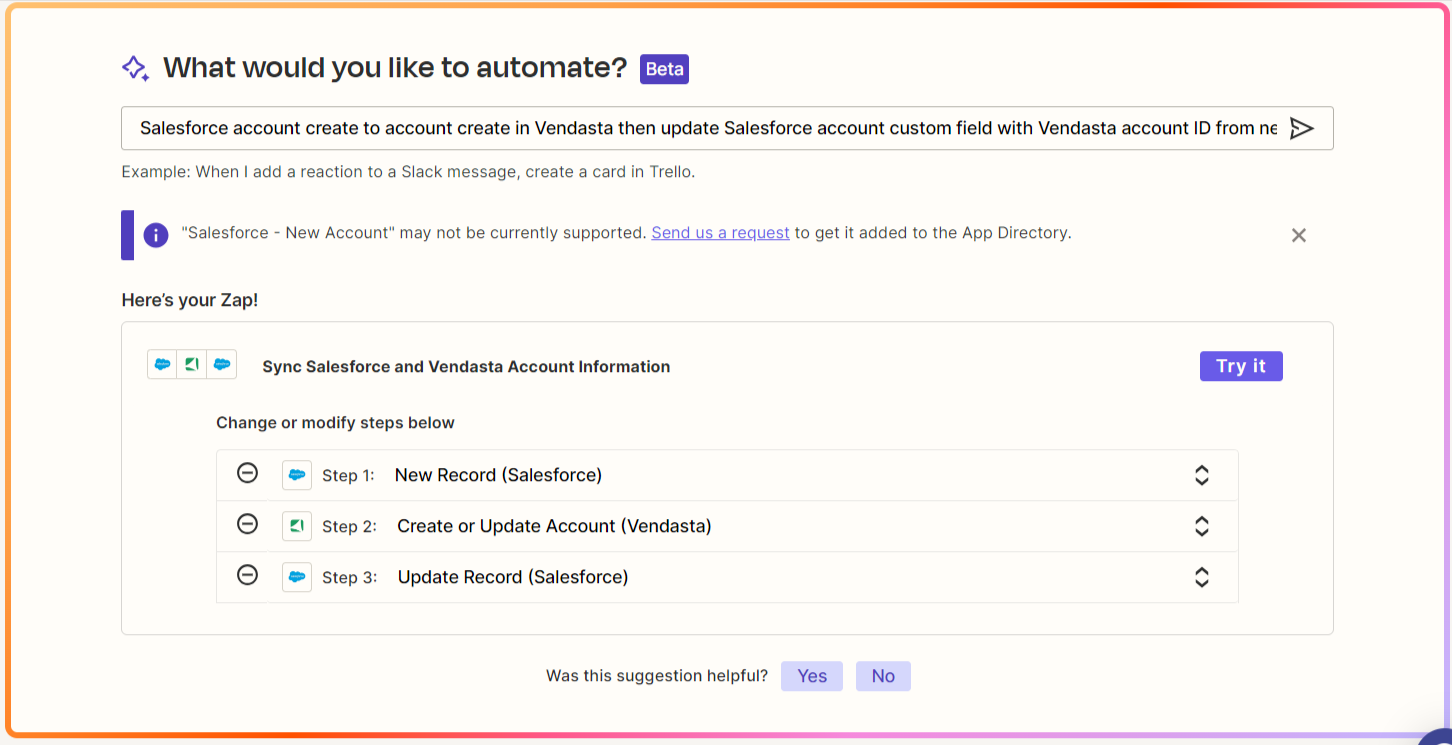
- Click Try It.
Step 1 - Zap Trigger
Configurations with Salesforce to Consider
- For Step 1: The App must be Salesforce, and the Event must be New Record.
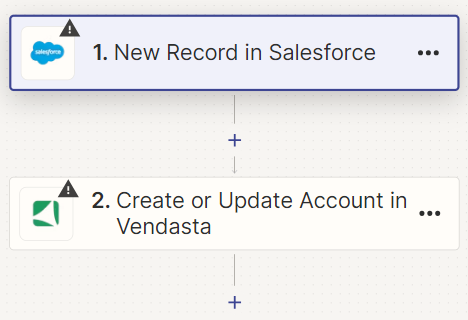
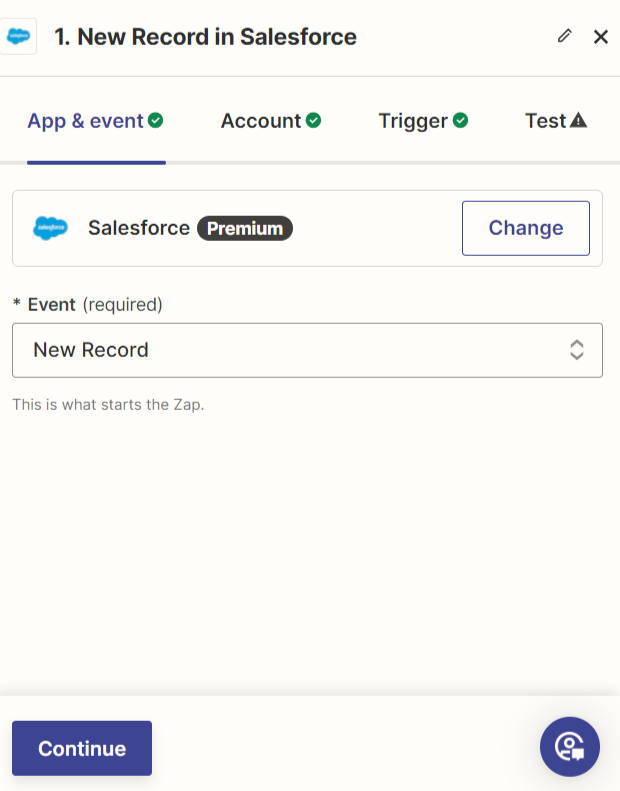
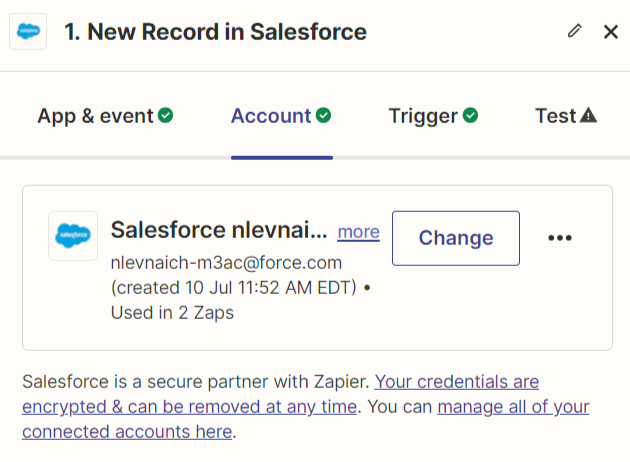
- Connect your authenticated Salesforce account from your organization.
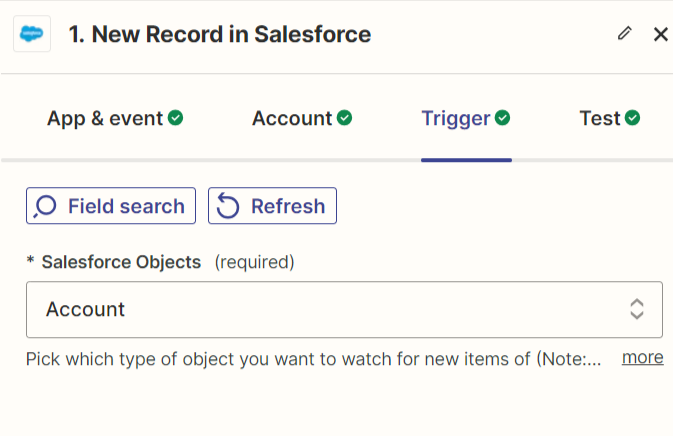
- Search and select Account as the Salesforce Object to trigger on.
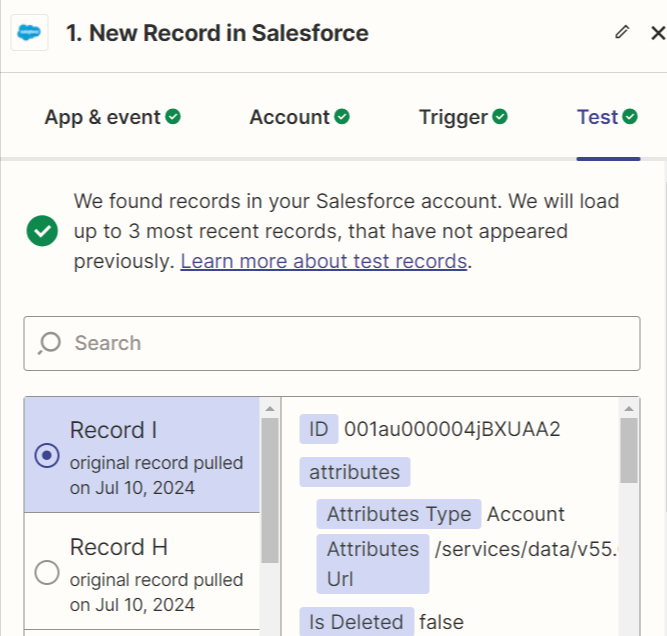
- Select a record "Account" to test with if desired.
Step 2 - Vendasta Account Create
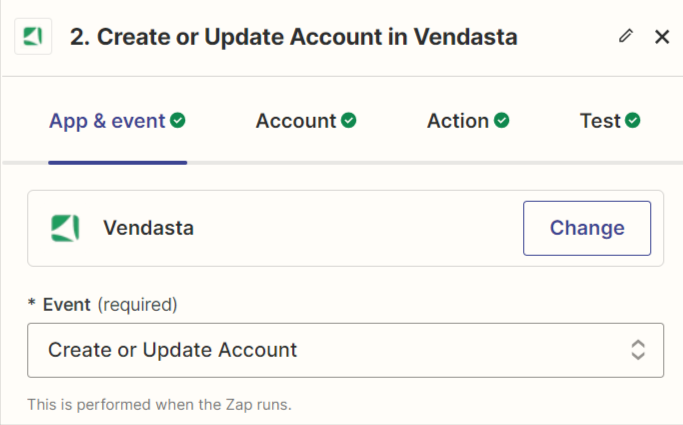
- To continue setup with Vendasta, the Event must be configured as Create or Update Account.
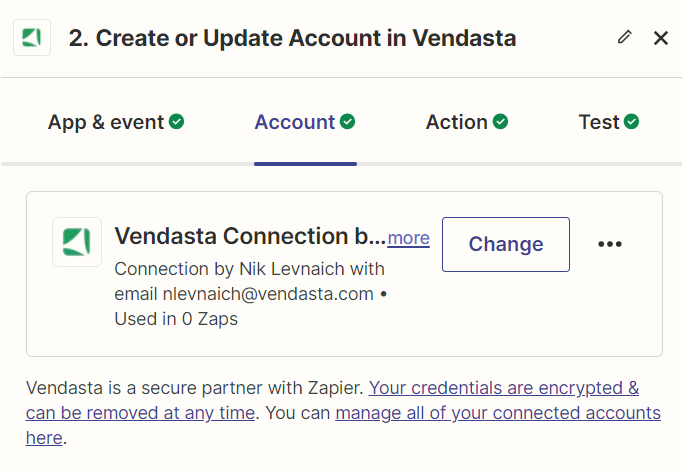
- Connect your Vendasta account.
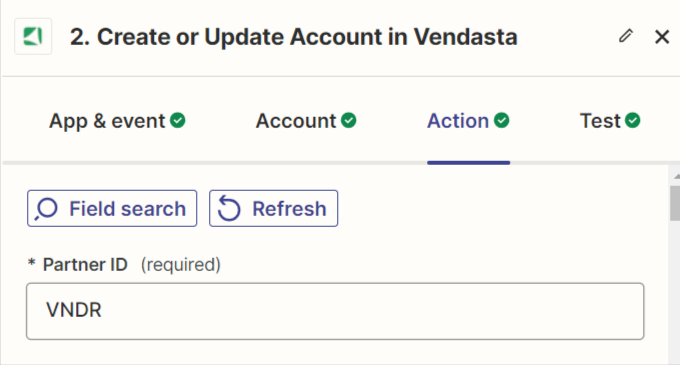
- Enter your three or four alphanumeric Partner Identifier (PID). This is always visible in the top left of Partner Center.
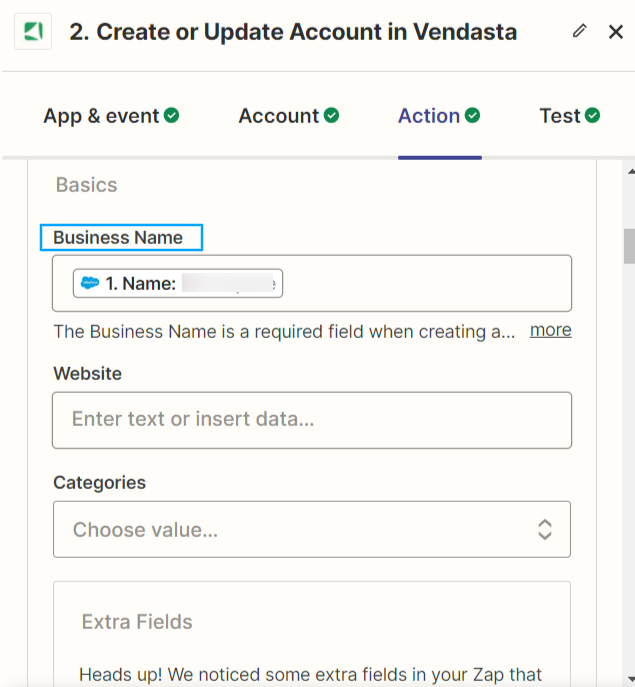
- Further, under Action > Basics, enter the Business Name -- this is the only required field when creating a new account. Add additional fields as desired; full NAP (Name, Address, Phone) data is recommended.
Step 3 - Sync back Vendasta AccountID to Salesforce
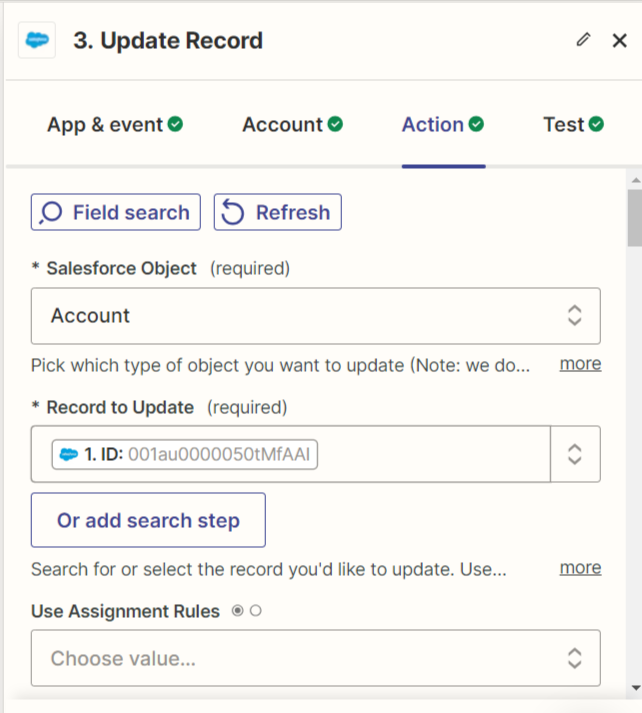
- Add a third step in your Zap using the Salesforce App, with the event being Update Record.
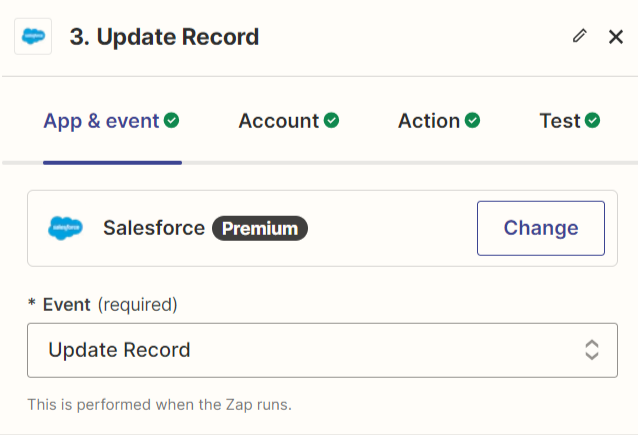
- Your authenticated Salesforce account should already be connected from Step 2 above.
- Adding an External ID custom field to your Salesforce Account Object is necessary before the next step.
- Note: You will need to refresh your Zap to see the new field become available if you are editing the Zap while adding the field to Salesforce.
- Under Action "Update Record", the Salesforce object must be Account, and the Record to Update will be Salesforce ID.
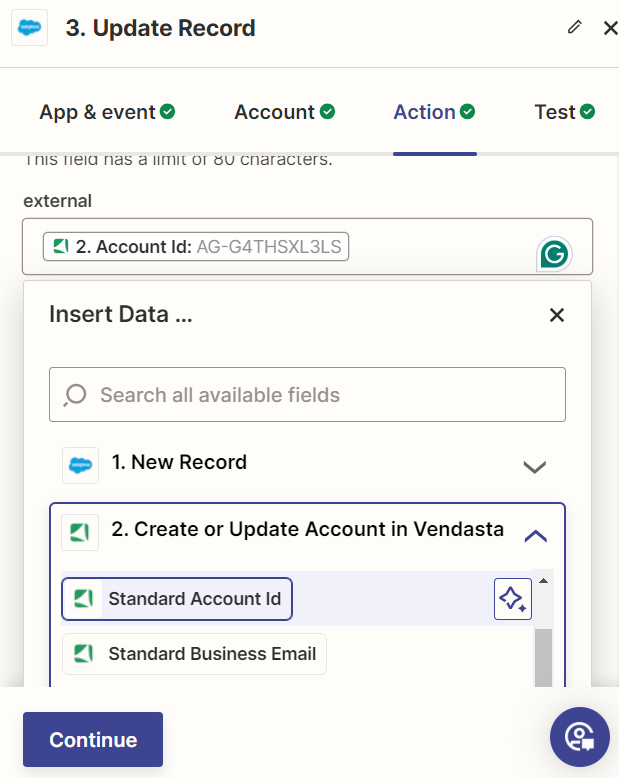
- In the UI of this step, scroll down and find your newly configured "external_id" field. Map the Vendasta Standard account Id from Step 2 to the External ID field to store a mapping of Vendasta's Account ID to your Salesforce Account. (The instructions to add this field to your Salesforce Account object are found in point 3 above).
Zap Testing & Publishing
- Test your Zap at your discretion, then Publish. The publishing step will also toggle on the Zap.
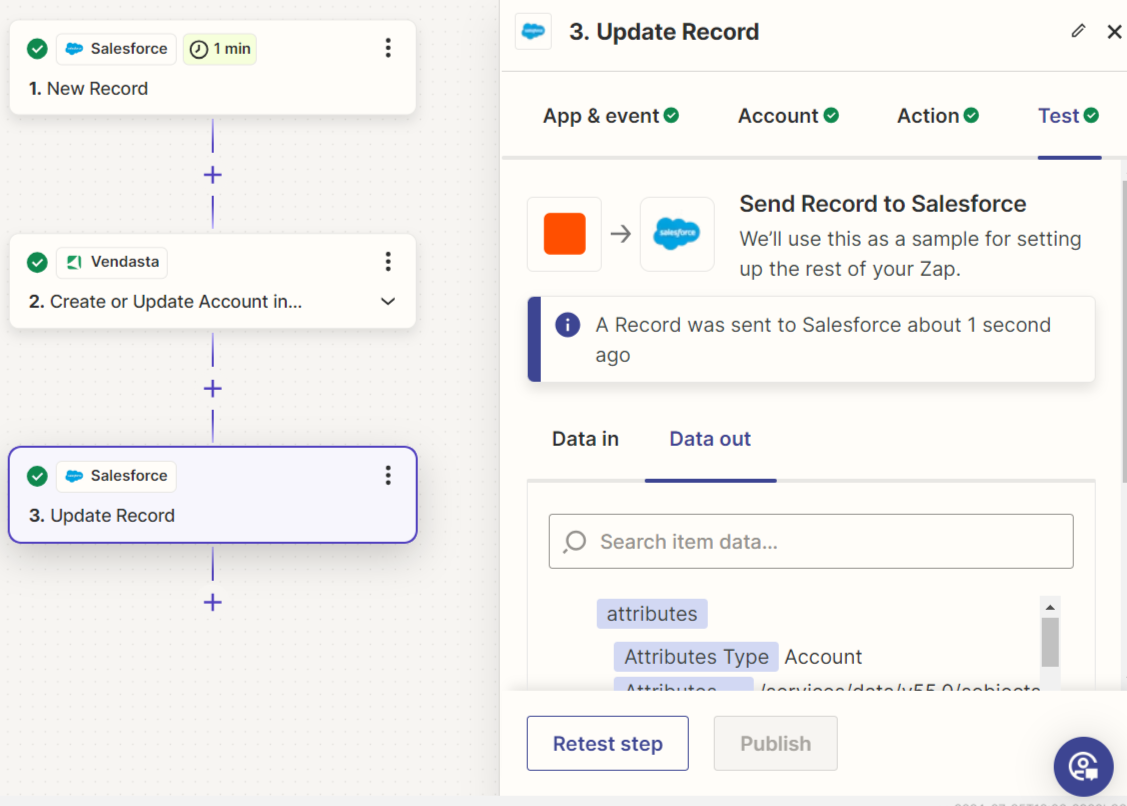
- Your completed and published Zap: